How to Fix or Repair Ugly Caulk Lines
Sometimes, it’s the little things that count! Any project that has been completed and left ugly caulk lines wasn’t done right! Even if every other aspect of the project was done properly, leaving behind ugly beads of caulk is likened to not doing the project at all. Use the tips below to get great caulk lines or contact Odd Job Larry today to leave it to the experts!
Bad caulking is just one of the many items we look at when completing your $99 Home Review. Learn more here!
Fixing Bad Caulk Lines
1.First, you need to pick the right caulk. Check out the video where James shows you exactly how to pick the caulk you need.
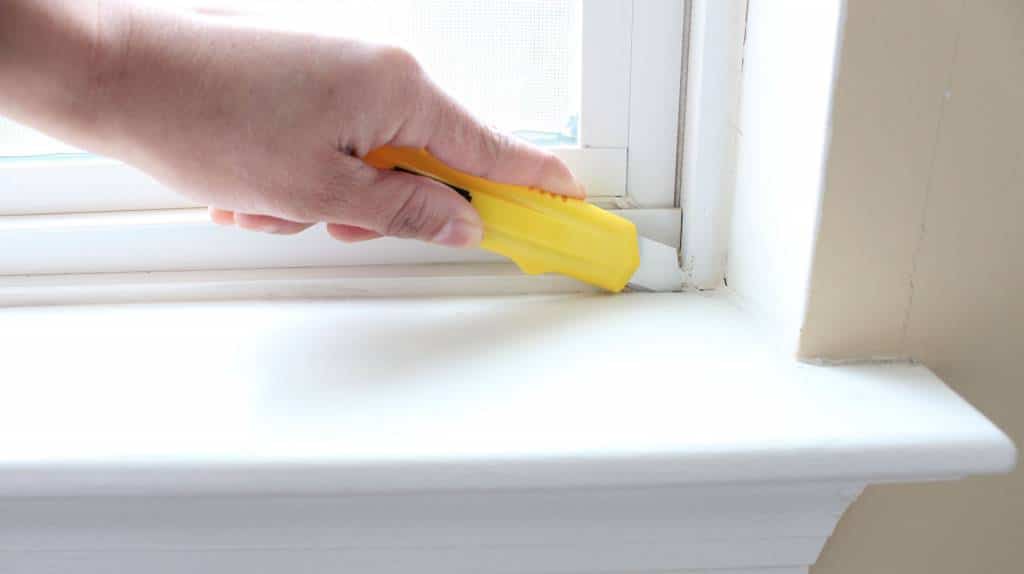
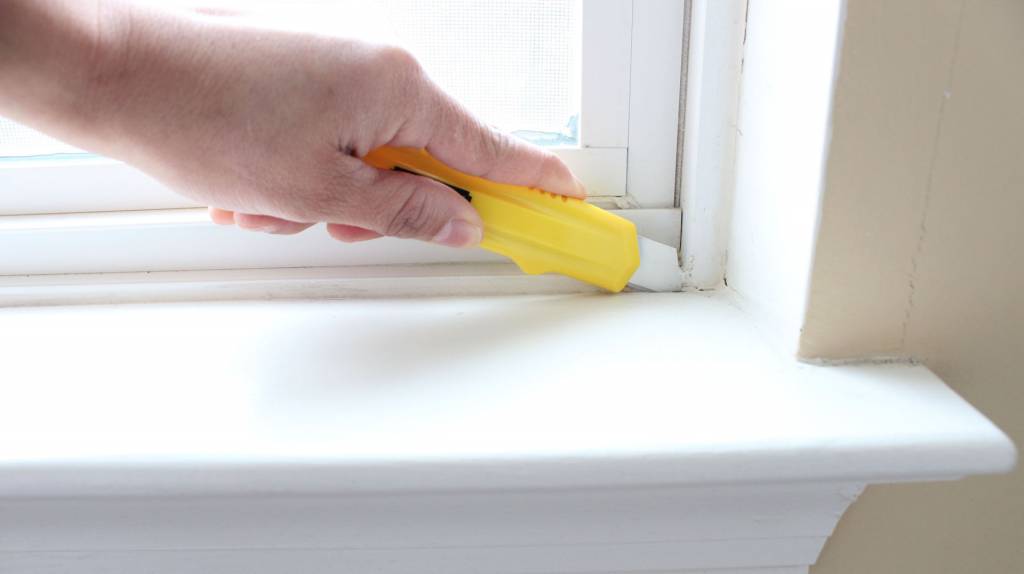
2. Using hand tools like a utility knife, putty knife or a caulk removal tool, carefully cut, scrape and peel away all of the existing caulk in the area that you are wanting to repair. It is very important to remove the existing caulk so that you can apply a thick, even layer of new caulk.
3. Clean the area by lightly wiping away any remaining loose debris and dirt with clean cloth or paper towel. Then, clean the area with mineral spirits to remove any grease that might remain. Allow the mineral spirits to fully dry.
4. If you are caulking between two different colored surfaces, using a colored caulk, and want perfectly straight caulk lines, you’ll want to apply painters tape to the surface you plan to caulk onto. When you apply the caulk, you will lap it onto the tape.
5. Apply the caulk of your choice as evenly as possible by going slow, applying even pressure, and keeping the caulk gun moving at a consistent speed.
6. Avoid sticking your finger into the caulk line to smooth it out. But if you need to, keep a small bucket with warm water and a small sponge nearby. This will make any cleaning or wiping easier and less messy.
If you’d rather have a professional complete this work, call Odd Job Larry at 262-287-7391 or contact us below.
There is no job too big or too small!
